Tuesday 27 December 2011

A Perfect Match

Chicken Liver Parfait with Saffron Apple Chutney

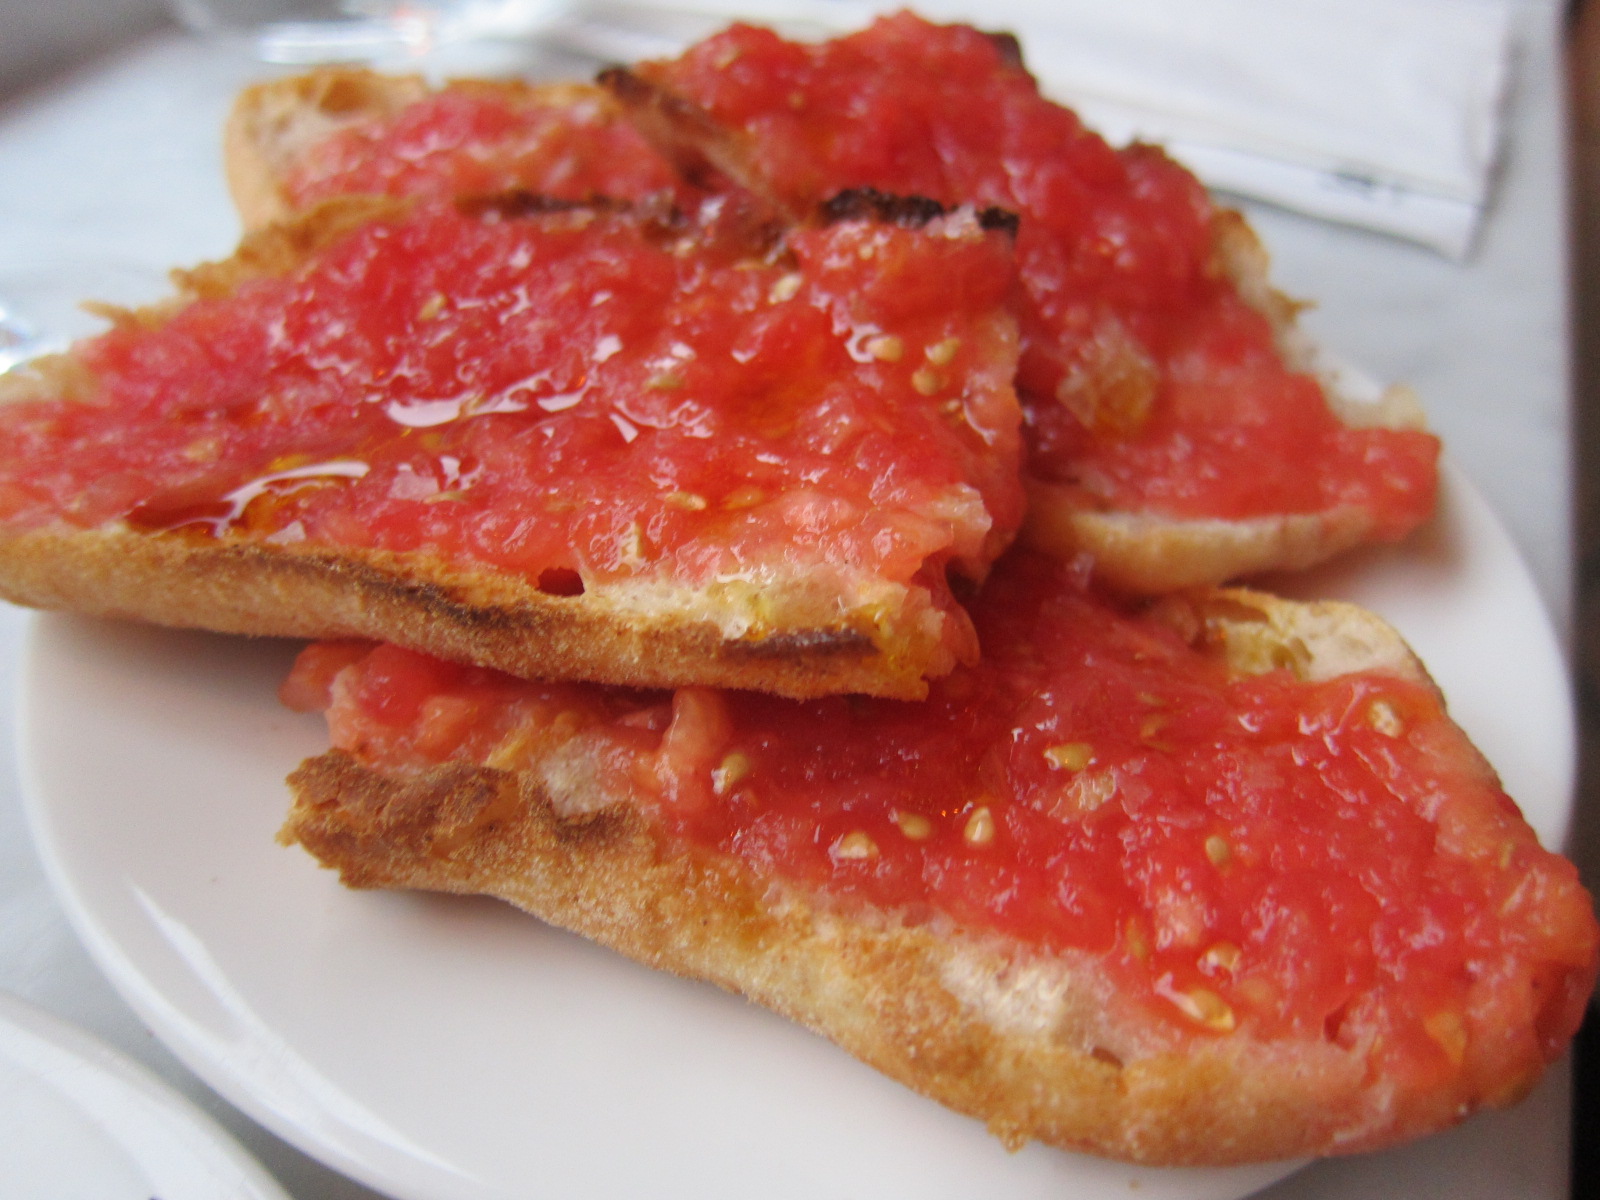
Pate, parfait, foie gras - anything laden with fat and cholesterol, and spreadable on baguette, brioche and anything else that is carbohydrate laden and equally as bad for you must taste good. I really believe there is an additive in liver products that make it so addictive. I am sure I am not the only one either. I believe I can exist on a diet of liver products - maybe not for long, but throw in some cured meats, cheeses, bread, pickles and a glass or two of red wine and I am one happy girl. My ideal type of meal is lots of small bites. Preferably served on a wooden board with a slab of something that is artery clogging.

This was my second attempt at chicken liver parfait and it was a better attempt. I added more brandy, perhaps more butter and more herbs and seasoning. I also made a saffron apple chutney to accompany it and the sweet and tangy chutney helped to cut through the richness of the liver. I love that it is Christmas and there are gatherings of people who I can use as guinea pigs.

Packaged up


Chicken Liver Parfait (adapted from Jamie Oliver)

Ingredients (makes about 450g, 4 small jars)
1. 250g block of butter and then some
2. 1 red onion, chopped
3. Olive oil
4. 2 cloves of garlic, peeled and finely chopped
5. 1 small bunch fresh thyme, leaves picked
6. 400g chicken liver, preferably organic or free range, trimmed of sinew or any green bits
7. Sea salt and black pepper
8. 1 medium glass of brandy

Method
1. Make the clarified butter, using about half the block of butter. Put the butter on low heat and let it melt away for about 20 minutes. The clear oil will separate from the white part (whey). Skim the clear stuff off the top and put in a separate saucepan.
2. Meanwhile, heat a lug of oil in a large pan and when hot, add the onion, garlic and thyme leaves. Fry fast for about 4 minutes, tossing occasionally, until soft and starting to colour. Add a splash more oil, your chicken livers and a pinch of salt and pepper. Cook on a high heat for 4-5 minutes. (Some recipes say don't overcook and keep the livers pink in the middle but I am abit paranoid so I cooked it through and it was still pretty smooth).
3. Add your brandy to the pan of livers, and let it cook off. You can flame it if you want – this way you can see the alcohol cooking off. I tasted it at this point and I could still taste the brandy but as soon as I blitzed it, this taste was gone so don't worry if you think you have put too much brandy!
4. Tip everything into a food processor with all the juices, and blitz until smooth. The smell changes straight away. Have a taste, and season to a degree where you’re happy, then add a little more as the seasoning goes down when it gets cold, which is how you’ll serve it. 
5. Dice up your remaining pack of butter, and add it piece by piece, with the food processor still running. Wait for each piece to be combined before adding more. Keep whizzing when it’s all in, and you’ll see it start to shine. Taste again and season if necessary, then whiz for 2 or 3 minutes. 
6. You can serve in ramekins or whatever you like. Push the parfait through a fine sieve and then into your serving dishes.
7. Put a piece of greaseproof paper over the parfait and put it into the fridge until set. 8. Once set, if not eating straight away, pour over a layer of clarified butter which acts as a seal. Keeps in the fridge for a week or so.

Serve at room temperature or slightly chilled, with fresh crusty bread, some chutney and dessert wine if so desired.

The apples simmering away
Apple, Saffron and Ginger Chutney

Quick Apple and Saffron Chutney (adapted from Gordon Ramsay)

Ingredients (makes about 350g)
1. Olive oil
2. Thumb size piece of ginger, peeled and finely chopped
3. Large pinch of saffron strands
4. 3 shallots, finely chopped
5. 150g caster sugar (then add more to taste)
6. 7.5 tbsp cider vinegar or white balsamic vinegar (I used cider vinegar)
7. 3 eating apples, peeled, cored and chopped

Method
1. Heat the oil in a frying pan and add the shallots, ginger and a good pinch of sea salt, then fry for 3 mins. Crumble in the saffron, sprinkle in the sugar and carry on cooking for few mins until the sugar melts and starts to caramelise, stirring all the time.
2. Tip in the vinegar and apples, the recipe says cook for 5 minutes until the apples are just softened and coated in a syrupy sauce. I found I cooked it for quite abit longer, as the mixture was still quite liquid. I added more sugar at this point also to help it thicken and caramelise. You don't want the apples to become mush so keep an eye on them. Cool and serve. It tastes quite gingery when I tasted the chutney warm, but the flavour was not as strong once chilled.

Can be spooned into an airtight container and kept in the fridge for up to 2 weeks.

Tuesday 29 November 2011

Homesick and Restless

Gifted up

I was at home sick. I was restless. I should rest but resting is just so tiring. What should I do? Should I sleep, should I go for a wander, should I cook? My friends think I have ADD (Attention Deficit Disorder). I don't. I just sometimes find it hard to stay in one spot, focus on one thing, keep my mind or feet still - but that is just because I am good at multi tasking. I decided to cook.

It is almost Christmas and what better excuse to experiment with homemade food gifts than when you have guinea pigs, who are so far still my friends, to bestow them upon. I had seen a Smoked Chilli Sambal recipe I had been wanting to try by Anna Hansen of the Modern Pantry in London. I love chilli, sambals, satays and any sauces of the like. Give me 5 different types of sauces in any meal and I will likely sample, mix or meddle with just a tiny quantity of each. 

I followed the quantity of ingredients in the recipe, except for the addition of 8 fresh chillies and extra chilli flakes initially - it just did not seem right that a sambal did not have any fresh chillies in the recipe. Then again, it was not coming from a native Malaysian source. I tasted it and found it way too tangy, lacking the smokey dried shrimp flavour and I thought it tasted more like a chilli-ginger sauce that usually accompanies Hainanese Chicken Rice. I also think I didn't deep fry the ingredients for quite long enough. It was at this point my mini food processor decided to die on me! I resorted to the hand blender and added some fried dried anchovies, sugar, salt and more chilli flakes. 

After trying to puree this for awhile and the blender getting stuck, I gave up and bottled and processed the jars*. It tasted ok I thought but have decided it is a tangy chilli sambal, rather than a smokey chilli sambal so I am calling it that. It would go well with Hainanese Chicken Rice or perhaps Nasi Lemak, or really just with any meat or Oriental dish as a condiment or even to cook with. Although the non-rest renders me even more sick - at least I have had time to shop for a new food processor.

The array of ingredients

Deep frying all the elements

The ingredients to be mixed and blitzed


All jarred up


Tangy Chilli Sambal (adapted from Anna Hansen's Smoked Chilli Sambal)

Ingredients (makes about 700g)

1. rapeseed oil for deep–frying 
2. 250g red peppers, sliced 
3. 250g onions, sliced 
4. 250g ripe cherry tomatoes 
5. 80g fresh ginger, cut into fine strips 
6. 80g garlic, sliced 
7. 25g dried shrimps, ground finely in a spice grinder 
8. 1 tsp hot smoked paprika
9. ½ tsp dried chilli flakes (add more to your tasting)
10. 125g tamarind paste 
11. 40ml fish sauce (nam pla)
12. 8 fresh chillies (more could be added depending on taste)
13. handful dried anchovies, grounded
14. pinch salt, and sugar

Method

1. Heat some oil to 180C in a deep–fat fryer or a large, deep pan, then deep–fry the red peppers, onions and tomatoes separately in small batches until they are a deep golden brown – almost burnt–looking. Drain them on kitchen paper and then tip them into a large bowl as you go. 
2. Deep–fry the ginger, chillies and garlic, in separate batches also, until golden brown. 
3. In a small frying–pan, fry the shrimps and anchovies in a some  of the oil from the fryer until aromatic. Add them to the bowl along with all the remaining ingredients and mix thoroughly.
4. Now blitz the sambal in batches in a food processor until almost smooth, emptying it out into another bowl as you go. Mix the batches back together and allow to cool. Place in an airtight container and refrigerate until needed.

*The jars need to be sterilised. I did this by washing them then boiling the jars in a big saucepan for about 10 minutes. Add enough water so it covers the jars by around 1 inch. Keep the jars hot until ready for use. When the jars have been filled, put them back into the hot water and make sure there is at least an inch of water covering them and bring to a boil for around 10 minutes. When done, you might hear a ping as the lid becomes concave, indicating that they have been sealed properly. Let the jars sit for at least 5 minutes before taking them out to cool. Keeps for a month in the fridge.

Tuesday 22 November 2011

The French Italian Heartbreaker

The first date - Strawberry shells with a chocolate ganache and coconut shells with an almond and coconut filling

Those pretty little treats, the colourful array of shells, the curious fillings, the variations... Macarons - not to be confused with coconut macaroons – are the French, bite-size confectionary that has captured many a heart, tantalised many a tongue, tortured many a soul and has evoked a love-hate relationship for me. 

I love macarons. Well, I used to? I was initially drawn to its' bright, crisp, complex and somewhat elusive exterior with the soft heart that never ceased to surprise me. Our first few dates were successful - no cracks appeared on the surface and our feet were light and airy. I was left feeling inspired and smiled knowing that I was party to all this sweetness that surrounds. 

But, this was the honeymoon period. And we all know that it never lasts. Before long, the sweet memories faded, the temperature changed and the feeling in the air was different. The cracks were beginning to show. Feet were no longer on air and, as quickly as I fell in love, I then started to question the very reason of their appearance in my life. I was at a macaron crossroads: do I try again or pack up my piping bags and say au revoir? 

I decided to try again, take things slow, day-by-day and somehow things came back together. The foundations formed and the connection was reborn. Shell and filling were as one. I, however, am still unsure of how I feel about this union. Every success creates a desire to experiment with new flavours but with every re-attempt, the thought of another flawed batch and countless hours invested was causing much grief and heartache. For now though, I have not yet given up!

Strawberry shells

I first made macarons when I was in France. I was so fascinated by them and wanted to sample all the flavours that were presented to me in the patisseries (and sample I did!). I went around Paris with list-in-hand of patisseries which were reknown for their delicious macarons. There was such a difference in the shells everywhere I went - some were bland and just tasted sugary, whereas others had distinct flavours and fillings - not just colourings to make them aesthetically appealing. To me, a good macaron has a thin crunch to the shell but with a soft, chewy inside from the meringue. They also have "feet". I was so excited on my first solo attempt at making these and seeing the "feet" appear through the oven door.

There are two methods of making these - the French meringue and the Italian. I was told in class that the Italian meringue was more difficult but the more stable recipe and produced a glossier shell. We weren't told it was only stable though once you were able to master it! It involved a sugar thermometer and a cooking sugar syrup to precisely 121'C and pouring this in a steady stream into the whipped egg whites. The French meringue method did not involve any cooking of a sugar syrup. My first few attempts when I returned from France turned out perfectly (in my mind). Perhaps it was that the instructions were still fresh in my mind and the steps were crystal clear. Perhaps it was also that I had a better oven with a more accurate temperature. I later moved to a new flat and that’s when they started to fail - the feet weren't forming, the shells were too thin and would crack, which meant I could not fill them without the filling soaking through and rendering a soggy biscuit. There were lots of variables - I believe the oven was just one of them. I also believe I had just forgotten some of the finer details involved in making macarons. 

So, I invested in an oven thermometer and I googled. I read up on macarons and did things by the book. I aged the egg whites* (which I had never done before) and I timed...and then voila, it worked! Though my most recent attempt was not my best batch, they were still a sweet treat for a baby shower I was attending. That was enough for me.

French Macarons, the Italian Way (Macarons au sucre cuit)

Ingredients (makes about 30 filled macarons)

1. 250g almond powder
2. 250g icing sugar
3. 90g egg whites
4. 115g egg whites (in a mixing bowl to be whisked)
5. 250g sugar
6. 85g water

Method (from scribbled notes from class!)

1. Sift almond powder and icing sugar together in food processor
2. Measure 250g sugar into saucepan and measure water on top of this
3. Start melting sugar on low heat (turn up the heat when it starts to boil, use a wet pastry brush to brush down the sides of the saucepan as the sugar boils)
4. Mix the 90g egg whites with the sifted almond powder and icing sugar with a spatula
5. Start whisking the 115g of egg whites (a Kitchenaid would come in handy here!) until stiff peaks begin to form
6. Cook the sugar until it reaches 121'C
7. Pour the cooked sugar into the whisked egg whites carefully (this equates to the Italian meringue) and continue mixing until the mixture is cooled and glossy (approximately 10 minutes)
8. Mix half the Italian meringue into the almond mixture (which has just been mixed with a spatula)
9. When mixed, add the remainder and mix with a spatula until semi runny
10. Pipe the mixture into rounds and drop the tray a couple of times to release any air bubbles
11. Let the piped shells sit for at least 30 minutes to dry out and form a crust before baking

Bake for 10 minutes at 130'C then check if they are cooked. Add extra 5 minutes at a time, with a maximum of 20 minutes.

You can fill them with any ganache, buttercream, jam of your choice.

*Ageing the egg whites - This involves separating the egg whites from the yolks and covering the whites and letting them sit at room temperature for 48-72 hours. I opted to keep them covered in the fridge for 72 hours then bring them back to room temperature well before I needed to use them. I am not sure if this step is entirely necessary for store bought eggs, but my last attempt did work out, when my other attempts had not of late.

Step 8

The piping bag mixture

Chocolate shells

Chocolate shells with fresh raspberry and cream filling

Vanilla bean shell with raspberry and white chocolate ganache

Packaging them up for baby shower favours

Add caption

Thursday 17 November 2011

Under the Bridge

In a quiet corner of the London Bridge area lies Bermondsey Street. A street unbeknown to me until just a few months ago. For me, London Bridge meant Borough Market and as that was largely an event for a Saturday morning, there was no inkling that this street represented a buzzy area of a weeknight filled with bars, restaurants and an arty vibe. My first visit was a cold and grey Tuesday evening to the newly opened José, by José Pizarro - a former chef of the popular Brindisa in Borough Markets. In this small space, plates were flying around the crowded room, wait staff attended us efficiently and red wine flowed as we perched ourselves along the front window pane, watching the world outside and enjoying the dishes as they arrived. Croquettes were creamy and flavoursome and not stodgy, Iberian ham was cut thinly with a nice texture, chicken livers in garlic and fino were more-ish enough for a second plate, seabream was fresh and perfectly cooked and a blackboard special of rare Pluma Iberica was charred nicely and resembled a nice steak, though was surpassed by a similar dish we had at the Corner Room the month before. Lamb meatballs were not as exciting but a simple salad with walnuts and apple was a nice balance to the meatier dishes we ordered. Thoroughly enjoyed my meal here, it was simple, yet fulfilling with a nice vibe and great service; be prepared to queue.

José
104 Bermondsey Street
London, SE1 3UB 
UNITED KINGDOM
http://joserestaurant.co.uk/
No Reservations

GBP23pp


Jamon Iberico Manuel Maldonado

Padron peppers

Croquetas

Tomato Bread

Rocket, Mahon cheese, apple and walnuts

Chicken livers, garlic and fino

Lamb meatballs,spicy tomato sauce
Pluma Iberica, served rare
Seabream, black olives and orange


Returning to this area, I found myself walking down and spotting a coffee shop I wanted to visit, a return to José or the newly opened restaurant of José Pizarro - Pizarro; or simply sampling a couple more of the drinking dens that lined this quaint street that appeared to be hidden away and offering a contrasting environment from the busy thoroughfare that is Tooley Street. 

Zucca, a relatively new modern Italian restaurant, was a single small room with an open kitchen, allowing you to watch the chefs in action. Complementary potato frittata and homemade bread basket, with a fruity and nicely bitter olive oil (sold for GBP10 a bottle which we later bought) was brought out and enjoyed before our meal commenced. A seabass carpaccio with lemon, peppers and chilli was light and refreshing, if not, cut slightly too thick. There are only two pasta dishes on the menu so we ordered both. A homemade Tagliatelli with a tasty ragu of venison and parmesan and an Orrechiette with slow cooked broccoli and salted ricotta, were the highlight of the evening. Cooked al dente, and with the simple meaty ragu and ricotta sauce - makes for an easy lunch meal for locals. Mains of the infamous Veal chop with spinach and lemon was cooked medium, and juicy with a nice charring; however, the Yin/Yang dish of Squid "Nero" with white polenta, was rather one dimensional and lacked any true standout of flavours. The prices are not high but if in search for a place to eat in the area, I do think there are better options. None the less, José, coupled with the drinking dens such as Village East, Garrisons and The Hide Bar do make this little corner worth seeking out.

Zucca
184 Bermondsey Street
London, SE1 3TQ 
GBP40pp (including 2 glasses of wine)